
Forum › Forums › Official Releases › antiX-23 “Arditi del Popolo › Add printer on ethernet crossover cable
- This topic has 6 replies, 4 voices, and was last updated Sep 15-11:39 am by Brian Masinick.
-
AuthorPosts
-
August 15, 2025 at 2:59 am #183787
 rolandMember
Add printer on ethernet crossover cable
In the past I have had trouble adding my HP Laserjet 4100n printer such that it will print. I now use a Usb adapter cable in the parallel printer port connected to the Usb bus on the pc. The method is:- Switch on Pc and enter ‘add printer’ dialogue. Switch on printer holding down the big green button which brings a ‘cold reset’ message on the printer mini-screen. This causes printer to appear in the add printer menu as a Usb printer. This is selected and make and type in the continuation screens enable correct driver choice. The required printer connection is now made and it will print. This is a lasting connection unaffected by switchoff/switchon of printer or Pc.
Cold reset also assigns an IP address which can be read by printing the JetDirect Configuration page using the printer own menu. The IP address appears to change each time I switch on with a cold reset.
An HP user group states that a network capable printer can be added outside a network, using an ethernet patch or crossover cable, without modem switch or router between printer and Pc. I bought a couple of such cables and tried to add my 4100n.
The printer no longer appears in the list in the way it did using a Usb cable. However Connman sees the cable on eth1 and describes it as:-
Wired [eth1] Ethernet Ready ethernet_00e01a68003c_cable; This seems to confirm the wired ethernet connection.The sub-menu in the network printer dialogue offers various ‘Find Network Printer’ options, I don’t know which I should choose, for most I am unable to complete the parameters.
1. Windows printer via Samba seems irrelevant.
2. Internet printing ipp options I don’t have the required ipp modules.
3. Http option seems irrelevant.
4. LPD/LPR host or printer may be relevant but I don’t have the data to complete the parameters.5. AppSocket/HP JetDirect seems the most likely choice in my case. This requests hostname, maybe of my Pc [antix1] or maybe ‘localhost’, and port number, which appears as 9100.
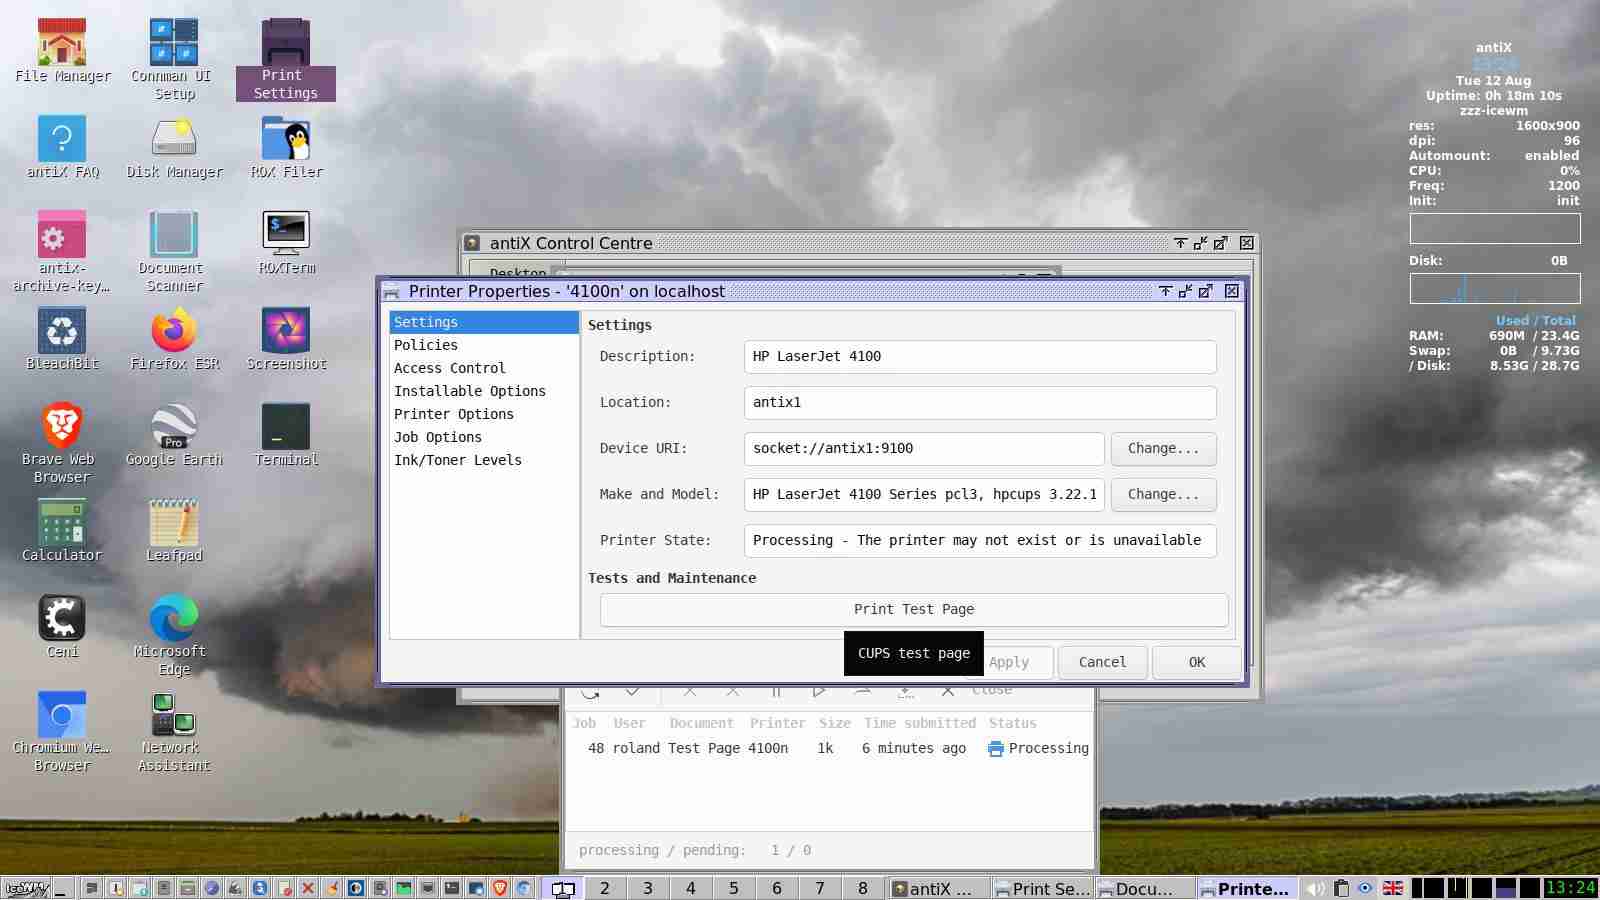
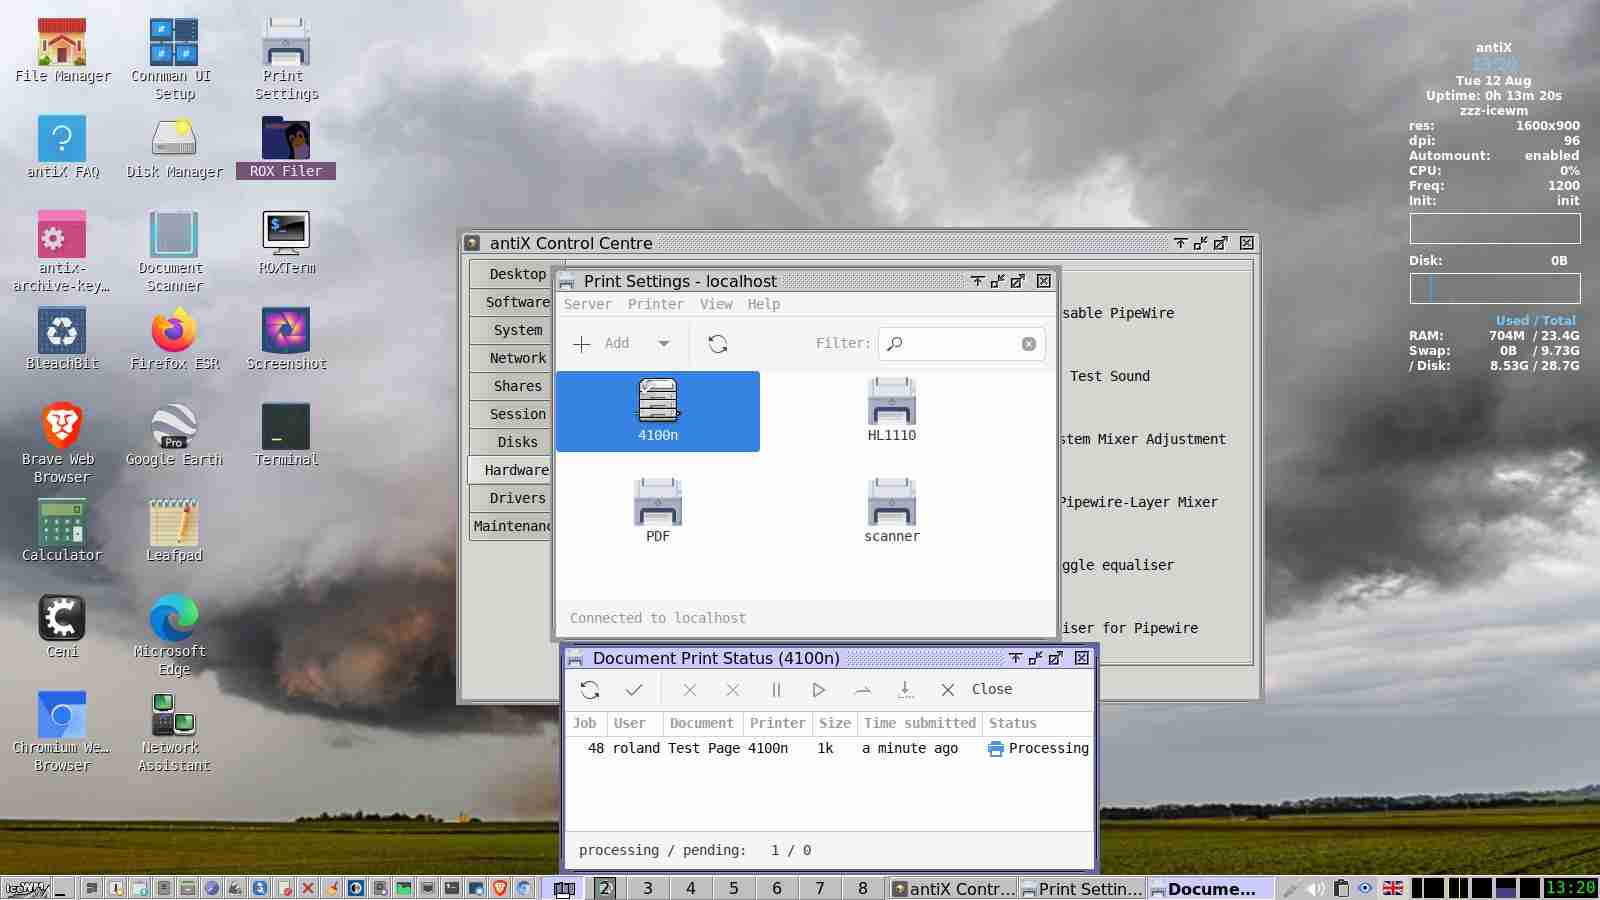
I have tried this option with antix1 as hostname. The driver is selected and assigned, the printer appears as an online network printer in the printer table, but appears either not exist or unavailable, and a test print queues endlessly.
Why does the add printer dialogue not request an IP address I wonder? Or does it?
If anyone can point me in the right direction with this question I shall be most grateful, all contributors please accept my thanks in advance.
August 15, 2025 at 2:53 pm #183821Robin
MemberWhy does the add printer dialogue not request an IP address I wonder? Or does it?
Since you don’t have a router nor a name server in this very network, I guess you need to enter the printer’s IP directly into the IPP URL field of your last screenshot above:
ipp://123.456.78Maybe your printer acts as a name server? check arp -a on console to learn whether it assigns a network name on its own to itself. Then try using that network name instead.
Maybe your printer expects some more specific details, like a port number or a specific path to be added. This only the manufacturer can know.
Alternatively to using the IP in the URL field, you may add its IP to your hosts file instead, assigning a name, so it has then a network name you can use.
In any case, localhost or antix1 can’t work here, since it would mean the antix1 or localhost device is the printer already, which is clearly wrong.
Some additional basic checking: Can you ping the printer already from console?
$ ping 192.168.178.136
PING HP-4100n (192.168.178.136): 56 data bytes
64 bytes from 192.168.178.136: icmp_seq=0 ttl=64 time=0,443 ms
64 bytes from 192.168.178.136: icmp_seq=1 ttl=64 time=0,509 ms
64 bytes from 192.168.178.136: icmp_seq=2 ttl=64 time=0,495 ms
^C--- 192.168.178.136 ping statistics ---
3 packets transmitted, 3 packets received, 0% packet loss
round-trip min/avg/max/stddev = 0,443/0,482/0,509/0,028 ms
If already this doesn’t work, we’ll have to dig a bit deeper. Check the Details tab in your first screenshot then, there select first the proper connection from the pulldown in the Service section in this tab head to see the proper data. Then use the “Configuration” button at the bottom of this tab to change what is needed to make it work.
Windows is like a submarine. Open a window and serious problems will start.
August 19, 2025 at 11:49 am #184096rolandMemberI now know my question is far more complex than first realised. I need to spend time reading the HP 4100N documentation and perhaps the Cups documentation before returning here maybe with a new query.
I began to go through the suggestions advanced by contributors. arp -a procuced no response. Ping cannot produce a response without a known IP address. Connman sees the ethernet cable but does not know there is an attached printer without an IP address or some equivalent.
I mistakenly ran a ‘cold reset’ which has changed the printers own settings including Ip address. The HP manual specifically warns against running a cold reset, suggests taking a configuration page print before any such action, so original settings can be restored, fortunately I did so.
An address is required to use a device via ethernet, either a hardware address, an IP address, or a DHCP address. I only have hardware address 0010830AACFD on a consistent basis. Host name and IP address have changed through switchoff/switchon and perhaps other means.
On the original print host name appears as NPI0AACFD, IP address as 192.168.1.11, on the second print host name appears as NPI0AACFD, IP address had changed to 192.168.1.67, on the third print after cold reset host name is not specified, IP address as 0.0.0.0. Nothing consistent to address here and looks like a message to myself to read up TCP/IP protocols generally and HP 4100N setup and cups operations in particular. I must discover how to define and fix the required ethernet address parameters before any printed install has a chance of success.
I may return to the forum with a variation of my question when I am in a position to ask it in a more knowledgeable way.
Thanks for the time contributors have spent on this question, much appreciated.
August 19, 2025 at 2:53 pm #184108MemberSome hints from HP itself for their Ethernet printers:
Connect the cable to an Ethernet or LAN port on the router, and then connect the other end to the Ethernet port on the printer.

Turn on the printer.

Check the LEDs on the printer's Ethernet port to ensure the connection is successful. The green LED should be solid and the orange activity LED should be blinking.

Print a network configuration report.

    – HP app: On the app's home screen, click your printer's image, under Tools, click Printer Reports, and then select Network Configuration Report.

    – For printers with a touchscreen control panel: On the control panel, open the Wireless or Network Settings menu, and then select Network Configuration Report or Network Configuration Page.

    – HP printers without a touchscreen control panel: On the control panel, press and hold the <em>Wireless</em> button and the <em>Information</em> button. The print reports on the control panel may vary depending on the printer model.

    Depending on the printer model, a different method may be used:

        – Press the Wireless and Resume/Cancel buttons at the same time.

        – Press and hold the <em>Information</em> button until all buttons are lit, then press and hold the <em>Resume</em> button or press the <em>Information + Resume</em> buttons.

        – Press and hold the <em>Resume</em> button until the <em>Ready</em> LED flashes.

Ensure that the network status is <em>Ready</em>, or follow any instructions to resolve network issues indicated in the report.
Since they don’t mention any way to set a static IP in their printers, and ask you to connect to a router instead of a PC directly, there is a slight possibility their printers can only work with a dhcp server present, so the IP is retrieved on each startup from this server and changes from 0.0.0.0 to something useful only then. In this case you could try to set up such a server, which is normally integrated in your network router, directly on antiX. Just a vague guess:
$ sudo apt-get update
$ sudo apt-get install isc-dhcp-server isc-dhcp-common
After install you should find the config file /etc/dhcp/dhcpd.conf on your system, which needs some basic entries for starting to work.
See debian DHCP manual for details.
And also give this a try in a console window:
$ man dhcp-options
$ man dhcp-eval
Good luck.
Windows is like a submarine. Open a window and serious problems will start.
August 19, 2025 at 9:42 pm #184135stevesr0
MemberHi roland,
I missed why you don’t wish or can’t connect the network capable printer to your router? I assume it was because you had difficulty with doing that in the past?
- This reply was modified 1 year, 1 month ago by stevesr0.
September 15, 2025 at 3:22 am #185525rolandMemberHi Stevesr0,
My router seems to be too far away from my pc upstairs for a dependable wifi connection. However I recently solved my reported frequent line dropping trouble, by uninstalling all networking packages not Connman or Ceni, this has resolved some unknown conflict which was causing the line to be dropped repeatedly. Therefore I am now using Connman dependably, and intend to return to the printer connection problem. I prefer a network connection via my router, but with a cable backup.
September 15, 2025 at 11:39 am #185549 Brian MasinickModerator
Hi Stevesr0,
My router seems to be too far away from my PC upstairs for a dependable WiFi connection. However I recently solved my reported frequent line dropping trouble, by uninstalling all networking packages not Connman or Ceni, this has resolved some unknown conflict which was causing the line to be dropped repeatedly. Therefore I am now using Connman dependably, and intend to return to the printer connection problem. I prefer a network connection via my router, but with a cable backup.
Hopefully the solid network connection will completely solve the problem. In past days when network cabling was much more prominent, I had one or two network cable spots built into my home, but they were NOT in every room. I did, however, have 30-50 feet of Ethernet worthy network cable, so I drilled a few holes through the flooring, very close to a wall so that they didn’t “intrude” too far, and then I was able to either make wired network connections either directly from there, or have a multi-port network box near that location, able to connect to at least four connections, though I seldom needed more than two of them at once; this way, though, I could keep 3-4 pieces of equipment connected, instead of having to plug and unplug each of them.
As I indicated above, HOPEFULLY none of this will be necessary; that’s a LOT more trouble and WORK! It’s considerably easier when a reliable wireless network signal is near our equipment.
--
Brian Masinick
Alternate "Search B":
This search page -
AuthorPosts


- You must be logged in to reply to this topic.